
Handstand Progression: 90-Day Plan for Beginners
A science-backed, step-by-step program to achieve your first freestanding handstand in 90 days. No gym required—just a wall, your bodyweight, and the right progressions.
TL;DR — Key Takeaways
- Most beginners can hold a freestanding handstand within 90 days of consistent daily practice (5–6 days/week) — a solid 10–30 second hold typically takes 6–12 months.
- The progression has 4 phases: wrist conditioning → wall handstand → kick-up practice → freestanding balance — skip none of them.
- Wrist prep is non-negotiable — handstands load your full bodyweight through 90° of wrist extension. Spend at least 2–4 weeks conditioning before full inversions.
What is a Handstand and Why Train It
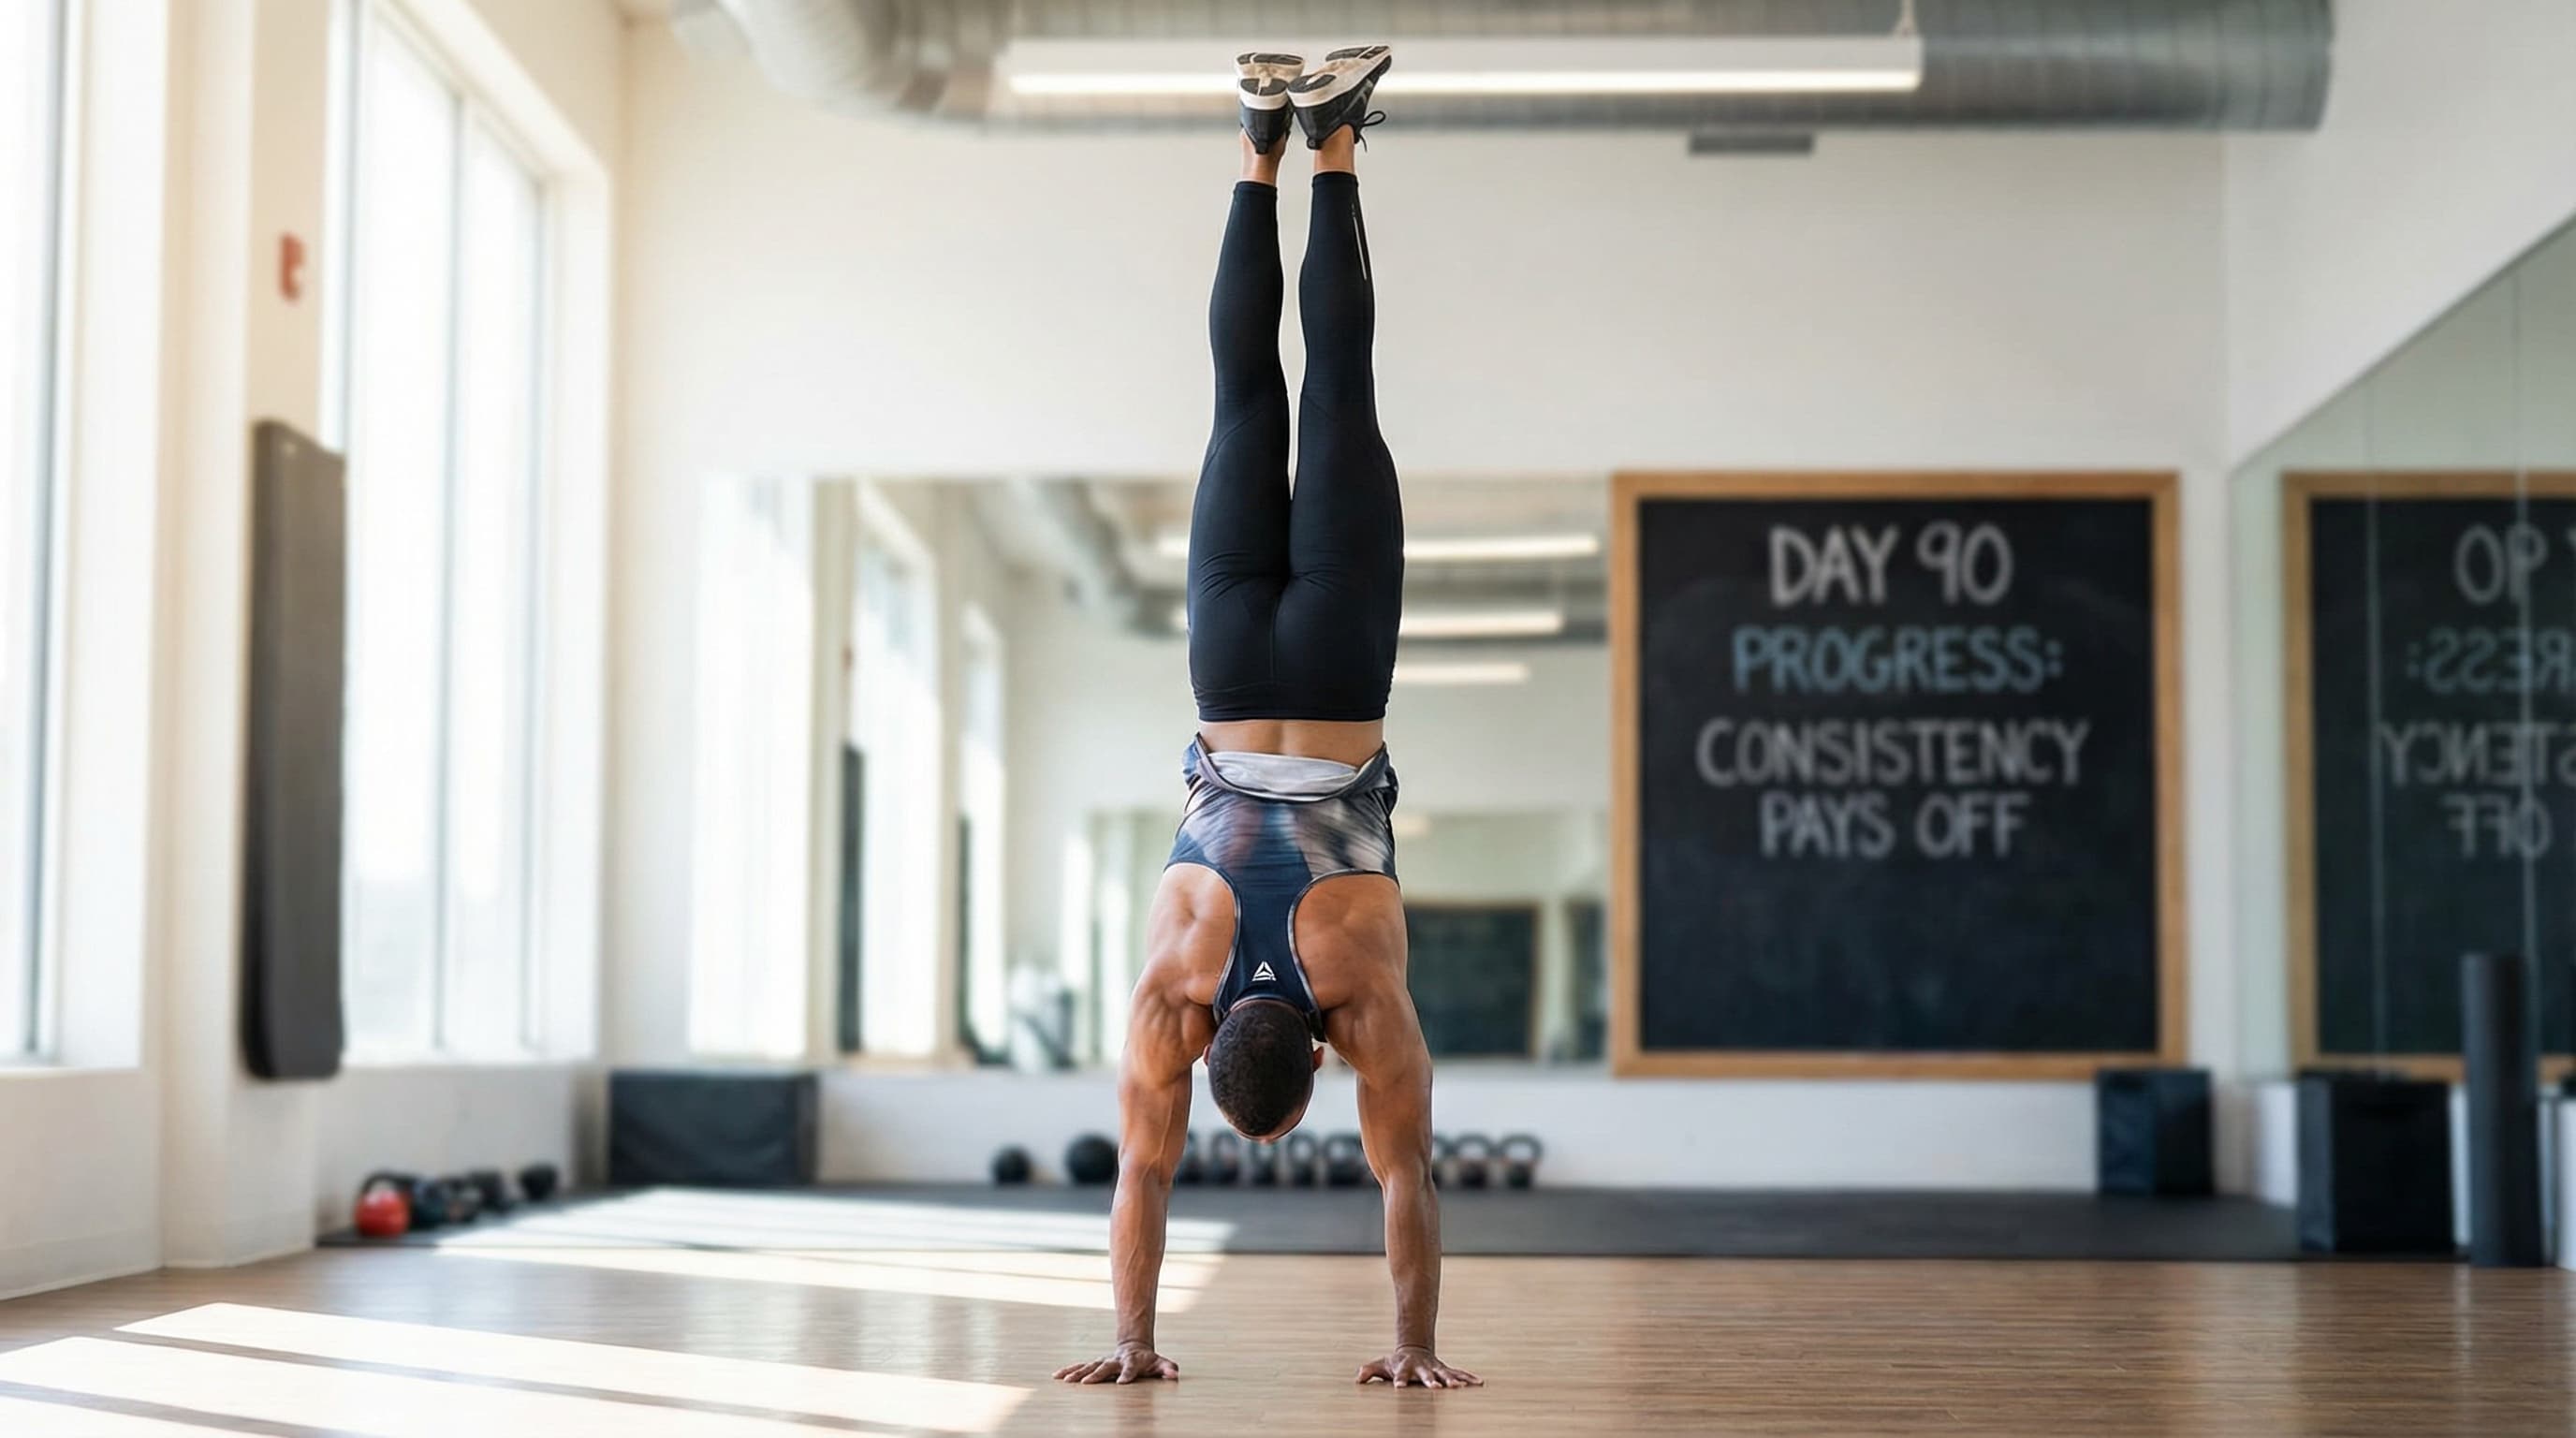
Definition: A handstand is a bodyweight skill in which the entire body is balanced vertically on the hands, with arms fully extended and the body forming a straight line from wrists to toes. It is the foundational skill of hand balancing, gymnastics, and advanced calisthenics—serving as the prerequisite for movements like the handstand push-up, planche, and one-arm handstand.
The handstand is one of the most transferable skills in bodyweight training. Unlike isolation exercises, a handstand simultaneously develops shoulder strength and stability, proprioceptive awareness, core tension, wrist resilience, and the ability to stay calm under physical stress. Every minute spent upside down builds qualities that carry over to every other movement in your training.
More importantly, learning a handstand builds genuine confidence. It requires you to trust your hands with your full bodyweight, override your fear of falling, and develop patience with a skill that improves in small, non-obvious increments. These mental qualities—patience, trust, tolerance for discomfort—are the same ones that build legendary strength in every domain.
The best news: you need zero equipment. A wall, a floor, and this plan are everything required to go from no handstand experience to freestanding balance in 90 days.
The Science of Handstands: Balance, Strength & Motor Learning
Understanding the neuroscience and biomechanics behind handstand training helps you structure practice intelligently and avoid the frustration of random effort:
Balance as a Motor Skill
A 2020 review in Frontiers in Systems Neuroscience by Tanaka et al. describes how the cerebro-cerebellum builds internal "forward models"—predictive maps that let your nervous system anticipate and correct small errors before you consciously notice them. This means handstand balance is not primarily a strength problem: it is a neurological pattern that requires frequent, consistent practice to encode. Short, daily sessions outperform infrequent long sessions.
Proprioception and Fingertip Control
A handstand is balanced through constant pressure adjustments at the fingertips—the same feedback loop used in standing balance, but inverted and amplified. Research published in Nature Communications confirms that light touch contact provides orientation information that measurably reduces postural sway, integrating into balance control roughly 3x faster than visual feedback (100-300ms vs. the time needed to process visual cues). Training this feedback loop deliberately—rather than just attempting handstands repeatedly—accelerates skill acquisition.
Shoulder Loading Research
A 2025 systematic review in Frontiers in Sports and Active Living found that shoulder joint torque during a handstand rises with smoother, larger movement corrections—and that poor motor coordination, not lack of strength, is the primary constraint on shoulder performance. That is a compelling mechanical argument for training correct alignment and control from the outset rather than tolerating poor form to hit short-term holds.
Wrist Conditioning Timelines
Connective tissue (tendons, ligaments, cartilage) adapts significantly more slowly than muscle. A 2015 systematic review and meta-analysis by Bohm, Mersmann & Arampatzis, published in Sports Medicine - Open (27 studies, 264 participants) found measurable tendon stiffness adaptations after 8 weeks of progressive loading, with 12+ weeks producing substantially larger and more consistent gains. This is why wrist injuries are the most common handstand setback: trainees progress faster than their connective tissue can adapt. The 90-day plan front-loads wrist preparation precisely to prevent this bottleneck.
"The people who take 90 days to get a freestanding handstand and the people who are still chasing it a year later are usually doing the exact same drills. The difference is that one group is paying attention to where their weight shifts and correcting it every single rep, and the other group is just kicking up and hoping."
What Muscles Do Handstands Work?

The handstand is a full-body isometric exercise. Unlike most movements where muscles contract and lengthen dynamically, handstand muscles fire continuously to maintain position against gravity. This sustained activation builds a unique type of strength:
Primary Load-Bearing Muscles
- Anterior Deltoids (Front Shoulders): The primary overhead pressing muscles that support your body weight above the hands. Weakness here is the most common reason for inability to hold a wall handstand for 60+ seconds.
- Triceps Brachii: Maintain full elbow extension throughout the hold. A slight elbow bend dramatically increases shoulder strain—locked elbows are essential.
- Serratus Anterior: The "boxer's muscle" that protracts and upwardly rotates the scapula, allowing the shoulder blade to sit properly in overhead loading. Often underdeveloped in beginners.
Stabilizers and Balance Muscles
- Core (Rectus Abdominis + Obliques): Maintain the hollow body position that creates a rigid, straight line. A relaxed core causes the lower back to arch—the primary cause of "banana handstands."
- Trapezius and Rhomboids: Stabilize the scapula and prevent shoulder impingement during prolonged holds.
- Wrist Flexors and Extensors: Constantly micro-adjusting to maintain balance. The active component of fingertip pressure control. These are the most commonly injured muscles in handstand beginners.
- Glutes and Quadriceps: Maintain leg extension and squeeze to prevent hip collapse. A handstand is a full-body tension exercise.
Prerequisites and Starting Point Assessment
Before beginning Day 1, assess these four areas. Your results determine which Phase 1 variations to use and flag any prerequisites to address first:
Test 1: Overhead Shoulder Mobility
How: Stand with your back flat against a wall. Raise both arms overhead and try to touch the wall with your wrists while keeping your lower back flat (no arching away from wall).
- Wrists easily touch wall: Adequate shoulder mobility—proceed normally
- Wrists stop 10-20cm short: Common—add shoulder mobility work to daily warm-up
- Significant restriction or back must arch: Prioritize shoulder mobility for first 2 weeks before heavy handstand practice
Test 2: Wrist Extension Tolerance
How: Get into a push-up position. Hold for 30 seconds, noting any sharp pain, discomfort, or wrist soreness.
- No discomfort for 30 seconds: Good wrist baseline—standard Phase 1 wrist prep applies
- Mild fatigue at 20-30 seconds: Normal for beginners—wrist prep is essential
- Pain before 20 seconds: Spend 2 full weeks on wrist prep only before any wall inversions. Do not rush this.
Test 3: Core Hollow Body Hold
How: Lie on your back. Press your lower back into the floor, tuck chin slightly, raise arms overhead and legs to 45°. Hold, keeping lower back in contact with floor throughout.
- Hold 30+ seconds easily: Strong core—your handstand alignment will develop quickly
- Lower back lifts before 30 seconds: Common—add dedicated hollow body work to every session. Our L-sit progression guide builds the same compression strength this test measures.
- Cannot hold without back lifting: Start with bent-knee hollow body (easier regression)
Test 4: Shoulder Pressing Endurance
How: Stand facing a wall, place hands on wall at shoulder height, walk feet back until body is at 45°. Hold this inclined plank position with locked elbows and active shoulders (pushing into the wall). Time your hold.
- 60+ seconds without fatigue: Strong shoulder endurance—ready for wall handstand work
- 30-60 seconds: Adequate—wall handstand holds under 30 seconds initially
- Under 30 seconds: Build shoulder pressing endurance with pike push-ups for first 2 weeks — see the pike push-up progression in our complete push-up guide
The 90-Day Handstand Progression Program
Handstand Exercise Progressions Step by Step
These progressions build the specific strength, mobility, and neuromuscular control needed for a freestanding handstand. Each level has a clear threshold for advancement:
Common Mistakes That Stall Handstand Progress
Skipping Wrist Preparation
The Mistake: Jumping straight into wall handstands without conditioning the wrists. Wrist injuries are the #1 reason beginners quit handstand training—they sideline you for weeks.
The Fix: Five minutes of wrist prep before every single session, without exception. If wrists are sore from yesterday's session, take a rest day. Wrist tendon adaptation takes months—you cannot rush it.
Practicing Back-to-Wall Instead of Chest-to-Wall
The Mistake: Back-to-wall handstands (facing away from the wall) feel natural to beginners but allow and reinforce excessive lower back arching. This trains the wrong pattern and makes freestanding balance significantly harder to develop.
The Fix: Use chest-to-wall exclusively until you can hold 60 seconds with hollow body alignment. It feels harder initially—that's because it is, and that difficulty is productive.
Kicking Too Hard
The Mistake: Throwing both legs aggressively into the air and crashing into the wall every kick-up. This builds a habit of overshooting vertical—the opposite of what freestanding balance requires.
The Fix: Train controlled kick-ups where the goal is finding vertical with minimal wall contact. Imagine the wall isn't there and you're trying to hold the freestanding position. Use the wall as a safety net, not a target.
Neglecting the Fingertip Feedback Drill
The Mistake: Only practicing static holds and kick-up volume without deliberately training the balance correction mechanism. Most beginners who plateau at wall handstands for months are missing this drill.
The Fix: Make fingertip pressure drills a mandatory part of every Phase 2 and Phase 3 session. The freestanding handstand is held by active fingertip correction—this is a trainable reflex, not an innate ability.
Not Learning to Bail Safely
The Mistake: Fear of falling makes beginners tense and timid in kick-ups and freestanding attempts. A tense, fearful handstand is nearly impossible to balance.
The Fix: Spend 10 minutes in your first session learning the pirouette bail: kick up, let yourself fall forward, rotate one hand outward and cartwheel to safety. Once your brain knows there is a safe exit, fear dissolves. Practice bailing on purpose before every Phase 2 and 3 session.
Infrequent Practice
The Mistake: Training handstands twice a week and expecting the same progress as daily practice. Balance skills require frequent neurological rehearsal to encode.
The Fix: Practice 5-6 days per week. Sessions don't need to be long—even 15 focused minutes daily outperforms 60-minute sessions three times per week. The brain encodes motor patterns through repetition over time, not exhaustion.
Ignoring Scapular Strength
The Mistake: Passive shoulders in the handstand—hanging from the joint rather than actively pushing through it. This looks like shoulders sinking toward the ears and causes shoulder impingement over time.
The Fix: In every handstand, actively push the floor away. Imagine trying to make yourself taller by pushing your hands into the ground. Your shoulders should move toward your ears (elevation and protraction), not away from them. Add serratus wall push-up shrugs to every warm-up.
Wrist Care, Shoulder Mobility, and Recovery
Handstand training is unique in that recovery and prehabilitation work are as important as the practice itself. These protocols keep you training consistently without injury:
Daily Wrist Maintenance
Non-negotiable protocol: Five minutes of wrist work before every handstand session. On rest days, 2-3 minutes of light mobility work keeps tendons healthy.
- Wrist circles: 20 reps each direction
- Prayer stretch: 30 seconds (palms together, fingers up)
- Reverse prayer: 30 seconds (fingers pointing down)
- Loaded stretches: push-up position with rocking—10 reps
Shoulder Mobility Work
Target: 3 times per week for overhead mobility development. Poor shoulder flexion is the most common cause of banana handstands.
- Wall overhead stretch: arms overhead against wall, hold 60 seconds
- Thoracic spine extensions over foam roller: 10 reps at mid-back
- Doorway shoulder stretch: arms at 90°, lean through doorway—30 seconds
- Overhead lat stretch (bar hang with reach): 3 × 30 seconds
Managing Wrist Soreness
Distinguishing normal discomfort from injury: Mild fatigue and pump in the forearms after training is normal. The following are warning signs to respect.
- Rest 1 day: Soreness that disappears after warm-up
- Rest 3 days: Pain during daily activities (typing, gripping)
- See a physio: Sharp, localized joint pain during training
Sleep and Neurological Recovery
Target: 7-9 hours per night. Unlike strength training, handstand progress depends heavily on neurological consolidation—the process by which motor skills are transferred to long-term memory during sleep.
Research on motor memory shows that a night of sleep after skill practice improves performance the next day by 20-30% compared to training again without sleep. Your handstand literally gets better overnight.
Deload Strategy
Every 4-5 weeks: Take a 5-7 day deload where you reduce intensity by 50%. Keep the wrist prep and do short wall handstand holds, but cut freestanding attempts and kick-up volume significantly.
Counterintuitively, many trainees report their best handstand sessions immediately after a deload. Accumulated shoulder and wrist fatigue silently limits performance—rest removes that ceiling.
Finger and Grip Strength
Supplemental work for faster progress: Grip and finger strength directly improve fingertip pressure control—the primary balance mechanism.
- Rice bucket hand exercises: 5 minutes, 3x/week
- Dead hangs and scapular pull-ups (also build shoulder stability)
- Finger extension band work: resist band from fingers opening outward
Frequently Asked Questions
How long does it realistically take to learn a freestanding handstand?
Do I need to be flexible to learn a handstand?
Should I learn handstands against a wall first?
Why do my wrists hurt during handstand training?
What is the difference between a 'banana handstand' and a straight handstand?
Can I practice handstands every day?
What should I do if I keep falling over in handstands?
Fit Handstand Training Into a Balanced Week
Build a weekly plan that makes room for skill practice while keeping strength, mobility, and recovery in balance.
Build My Free Weekly Plan